This page will walk the user through the process of importing and exporting a list of insurances into their database. This feature will allow the user to bulk add insurance companies to their database.
Formatting
To import a list of insurances, the insurances must first be in a specific format with the following headers:
- ID
- This field is optional when importing insurances but will always be present when exporting.
- Insurance/Office
- Required. IO stands for Insurance Office, and I for Insurance.
- PayorID
- Claim Office Number
- Insurance Type
- Name
- Address
- Address 2
- City
- State
- Zip Code
- Phone
- Phone2
- Fax
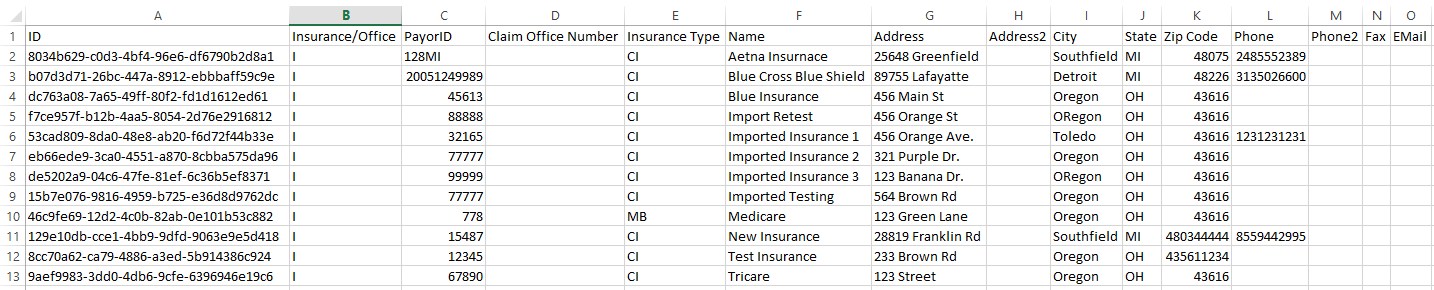
Sample:
Importing
Once the insurance records have been placed into a .csv file matching the above formatting, you can import this file into TRAKnet by clicking on the Properties tab, then selecting Insurance. In the upper right-hand corner of the insurance window, click the import button to open the below window:

Click Open to browse to the location of the prepared .csv file, then select OK. The system will check the insurances listed and will present the user with a list such as the following:

On this list you will see the insurance Name, PayorID, Address, City, State, Zip Code, Phone and any currently matching insurances in TRAKnet. If the insurance has an exact match in TRAKnet, the system will alert the user that this insurance is already existing. In this case, you may choose to uncheck the insurance if you do not wish to reimport it.
A Yellow alert indicates that there was no exact match but either the payer ID or the name matches an existing database entry, possibly resulting in a duplicate if this insurance is imported.
A Red alert indicates that there are no matches to payer ID or name in the database. This is a new insurance and should be imported.
Note that you cannot import a claim office without also importing the parent insurance as well. Also note that if you choose to import an insurance that is already existing in the database, any other field that was different - such as address or city - will be replaced. This also includes fields that were empty.
Exporting
You may also export your list of insurances (a recommended tool for finding a sample of the necessary formatting to then import a larger list). To export insurances, you must first search for and filter your results. Any insurance that shows up in a search result will be exported, including claim offices when available.
After searching, click the Export button in the upper right-hand corner of the screen, then select Insurance. This will export the list of insurances to a .csv file.
Note that the Export function is only enabled when there are search results displayed, so at least one insurance must be present to exported these results.